Introduction
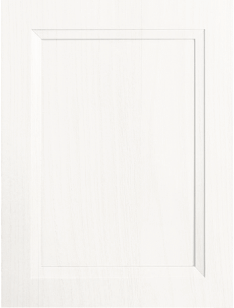
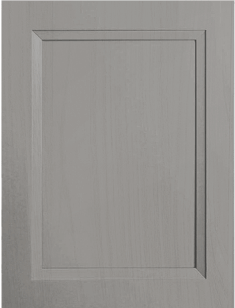
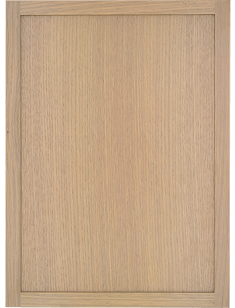
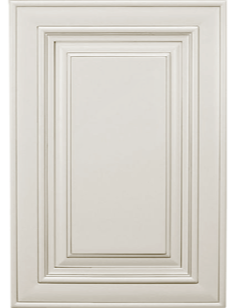
Assembly of RTA Cabinets might seem like a daunting task, especially if you’ve never done it before. However, with the right approach and a few helpful tips, you can turn this complex project into a straightforward and satisfying experience. RTA cabinets are kitchen cabinets that save you money while providing a beautiful and high-quality space in your kitchen. Many Americans choose RTA cabinets due to their affordable price and good quality, offering various styles and colors. In this blog, we’ll share five key tips for quickly and easily Assembly of RTA Cabinets, ensuring your kitchen renovation is stress-free.
Preparation Before Assembly
Proper preparation is the foundation of any successful project, including assembling RTA cabinets. Before you open the box, prepare to avoid problems later on. Preparation involves gathering the necessary tools and materials to help with the assembly, preparing the workspace, and removing old kitchen elements. Don’t forget to clean the entire area!
What You’ll Need
Start by gathering all the necessary tools and materials. Basic tools required include a screwdriver, a drill with appropriate attachments, a rubber mallet, and a tape measure. Having these tools on hand will prevent unnecessary delays during assembly. Consider using protective gloves to avoid injuries and place a soft surface like a blanket or foam to protect both the cabinets and the floor from scratches.
In addition to tools, it’s important to have a clean and spacious workspace. Clear the area where you’ll be assembling the cabinets to avoid tripping and ensure there’s enough space to arrange all parts. Good lighting is also crucial—make sure you can see clearly, especially when working with small screws or intricate parts.
Organizing Parts and Tools
Once you’ve prepared the workspace and collected the tools, the next step is to organize all parts. This might seem like an unnecessary step, but proper organization can significantly speed up and simplify the assembly process.
Categorizing Parts
Start by carefully unpacking the boxes of RTA cabinets and laying out all parts and hardware on a flat surface. As you do this, sort the parts into categories based on size and function. For example, group all side panels together, arrange shelves in one place, and organize screws, dowels, and other small hardware into separate containers or compartments.
This step is crucial as it allows you to easily locate each part when needed, preventing you from searching through a pile of parts during assembly. Also, compare the parts with the instructions to ensure you have everything required before starting. If any parts are missing or damaged, it’s better to find out now so you can contact the supplier immediately.
Using the Right Tools
One of the most common mistakes when Assembly of RTA Cabinets is using the wrong tools. This can lead to improper assembly, damaged cabinet parts, and a lot of frustration. Using the right tools not only makes the job easier but ensures that your cabinets are assembled correctly and securely.
Best Tools for Learn how to Assembly of RTA Cabinets
While the job can be done with a manual screwdriver, an electric drill with torque settings is highly recommended. It significantly speeds up the process and ensures screws are driven in evenly, reducing the risk of damage. A rubber mallet is another key tool, especially for tapping dowels into place without damaging the wood.
If your RTA cabinets come with a cam lock mechanism, be sure to get a flathead screwdriver that fits perfectly. This will make it easier to tighten the cam lock mechanisms and prevent over-tightening, which could damage the surrounding material. A level can also be useful to ensure your cabinets are perfectly aligned, especially if you’re assembling multiple units that will be installed next to each other.
Assemble Slowly and Carefully
Assembly of RTA Cabinets can feel like a race against time, but rushing through the process often leads to mistakes. Taking the time to carefully follow the instructions ensures that your cabinets are assembled correctly and securely.
Avoiding Common Mistakes
One of the biggest mistakes people make is assuming they know how parts fit together without reading the instructions fully. While RTA cabinets are designed to be straightforward, each model is different, and small differences in instructions can significantly impact the final product. Take the time to read the entire manual before starting and follow each step carefully.
Another common mistake is over-tightening screws or cam lock mechanisms. While it may seem like a good idea to make everything as tight as possible, this can weaken joints or damage the wood. Use gentle pressure and stop tightening as soon as you feel resistance.
Finishing Touches for a Professional Look
After the main assembly is completed, don’t forget the finishing touches. These details are what give your cabinets a professional appearance and ensure they are ready for use.
Ensuring Stability and Appearance
Once your RTA cabinets are assembled, take a moment to double-check that everything is secure. Gently shake each cabinet to make sure there are no wobbles or loose parts. If you notice any instability, go back and check the joints. It’s better to address these issues now rather than after the cabinets are installed and filled with items.
Finally, inspect the cabinets for any visible screws or gaps that might affect the appearance. Use appropriate wood filler or covers to hide visible screws and adjust hinges if the doors are not properly aligned. These small adjustments can make a big difference in the overall look of your finished cabinets.
Conclusion
Assembly of RTA Cabinets doesn’t have to be a stressful or time-consuming task. With proper preparation, organization, and the use of the right tools, you can assemble your cabinets quickly and efficiently. By following these five tips, you’ll ensure a smooth process and a professional finish that will make you proud of your new kitchen space. Remember, taking your time and paying attention to detail is key to a successful project.
If you have any additional questions, feel free to contact us, and our team will be happy to address your concerns. Shop smart, shop RTA cabinets!


